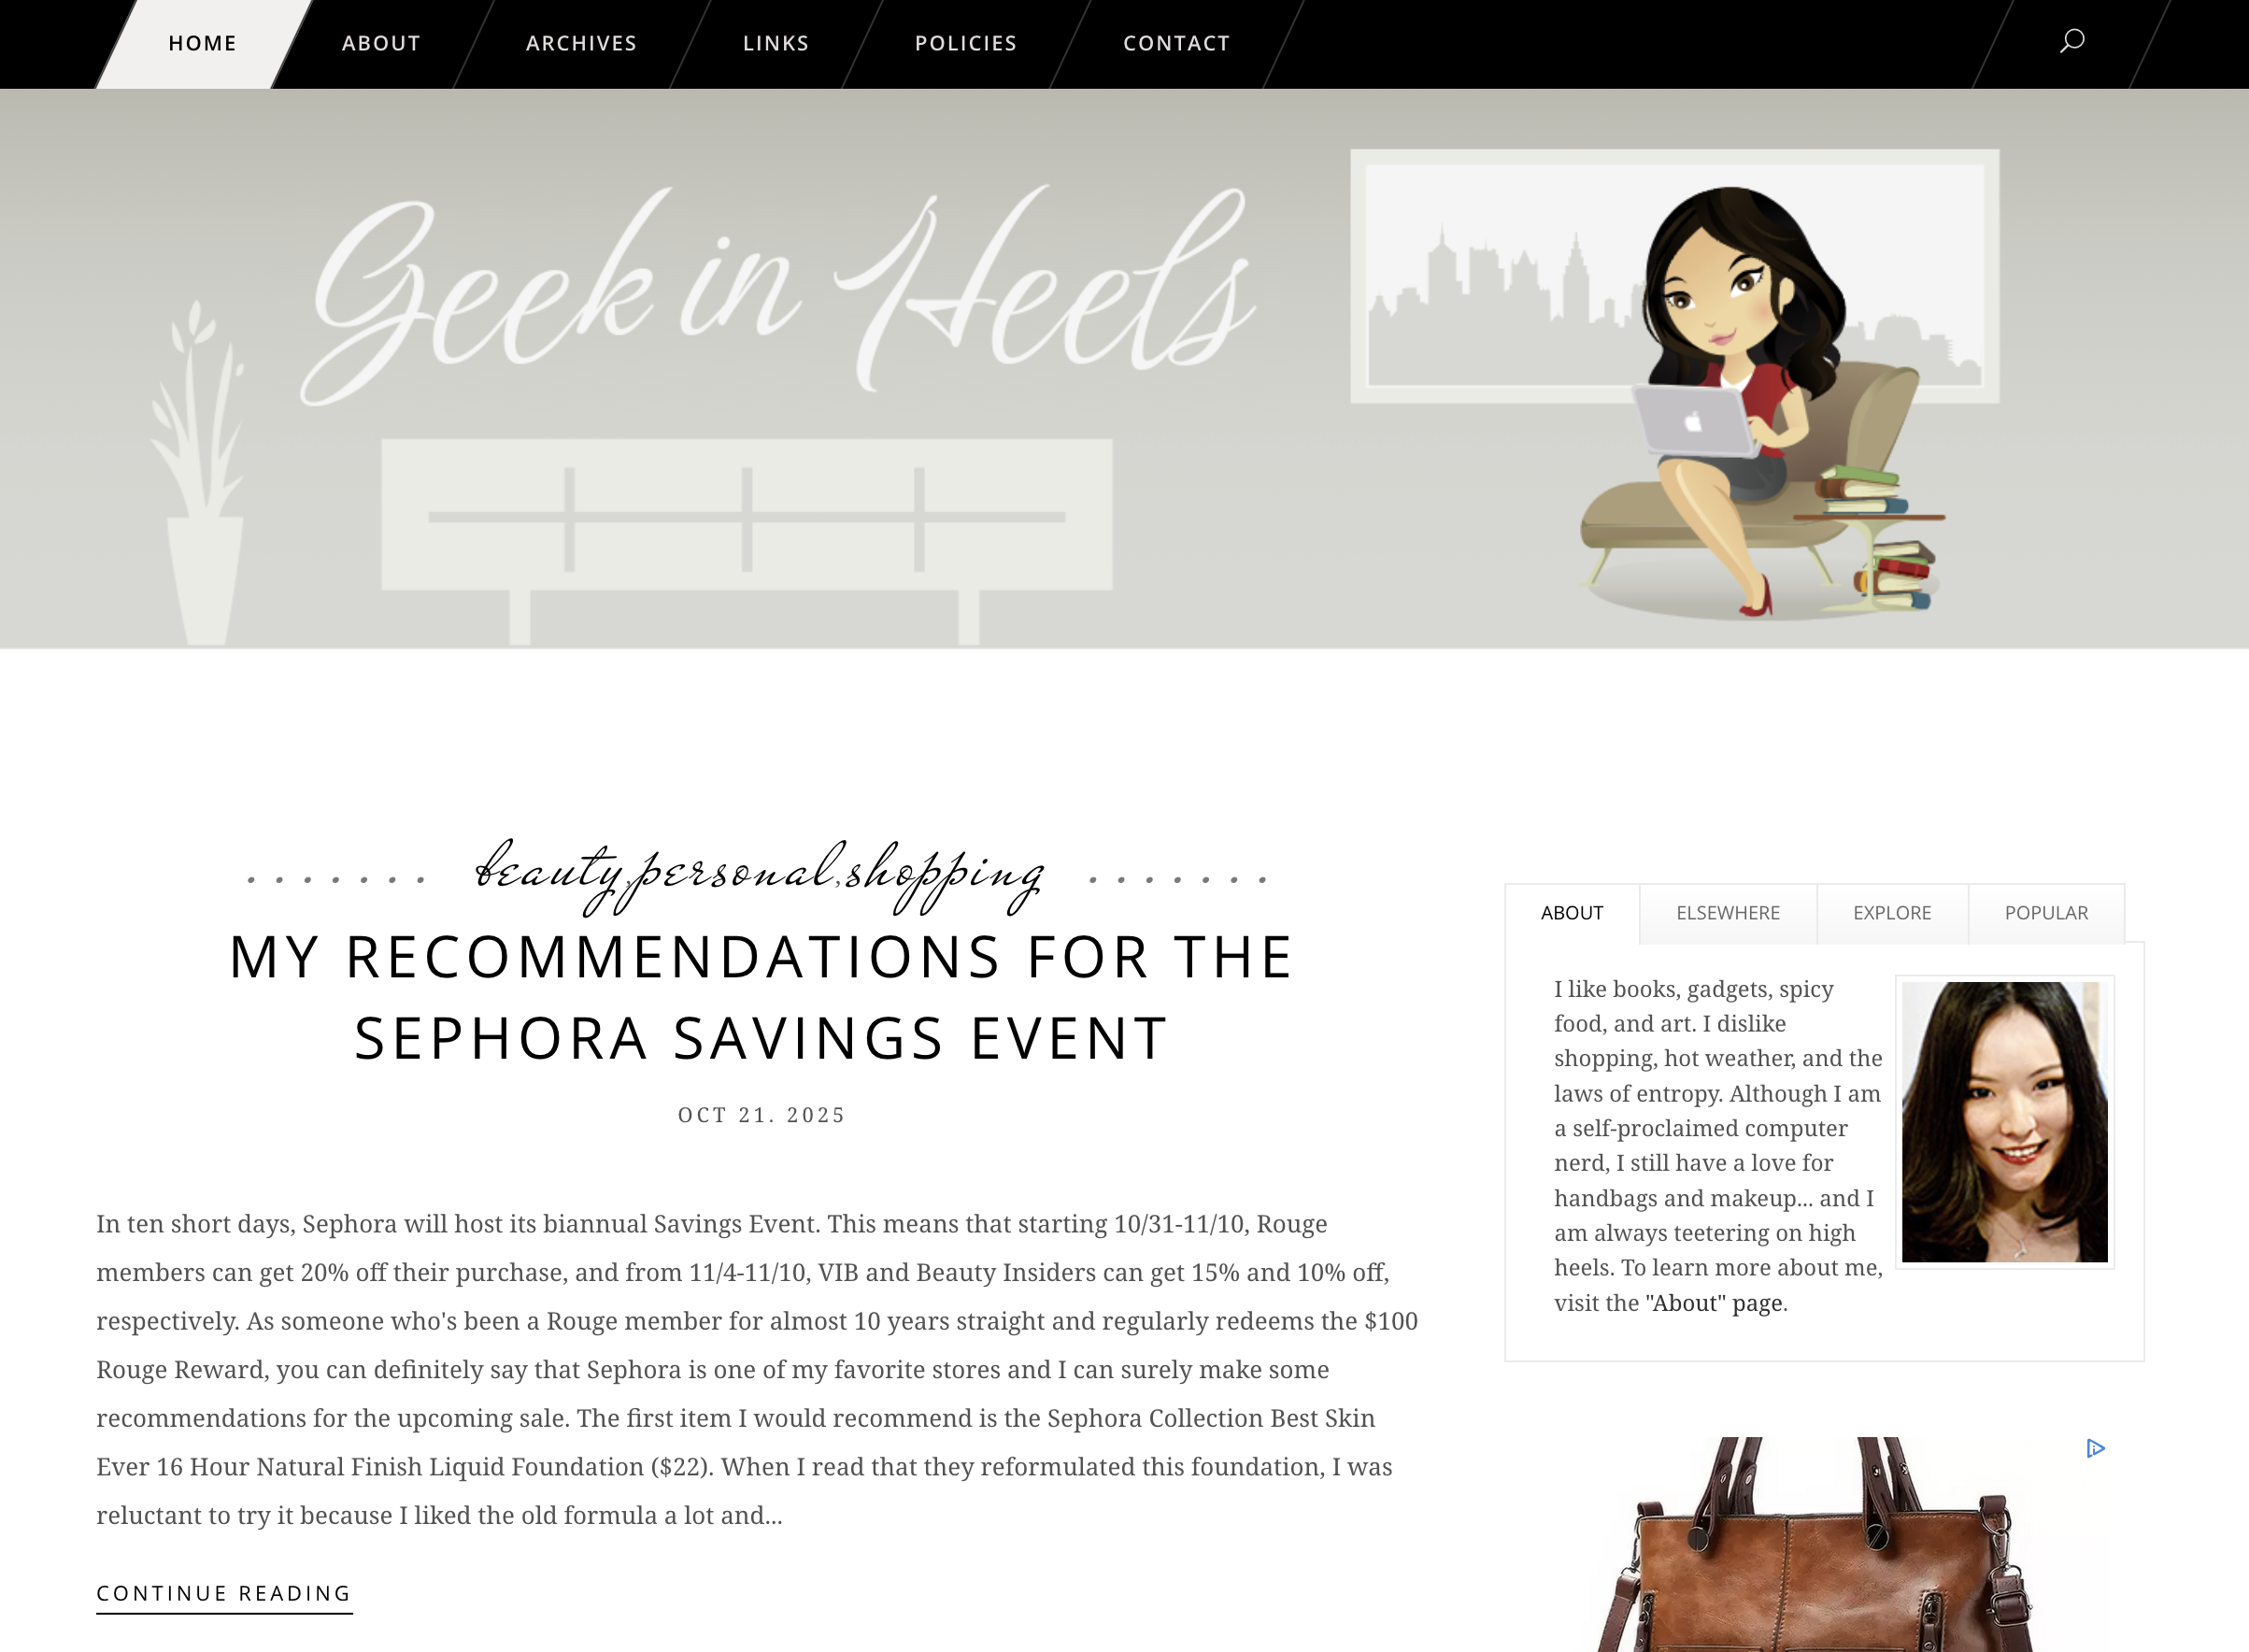
Feb
9
2012

Bloggy Thursdays: Disable Hotlinking

Welcome to this installment of Bloggy Thursdays, where I share with my fellow bloggers tips and tutorials to maximize and better your blog. While I do not consider myself an expert, I do like to think that after 10+ years of blogging — in addition to my technical knowledge — I know more than the average blogger when it comes to making your blog more appealing to readers.

Do you have any comments, questions, or topics you’d like to see covered here? Please send me a message via my contact form. Enjoy!


What is hotlinking, and why is it bad?

Hotlinking occurs when other sites link directly to the files (usually images) hosted on your site from their own blog, message board posts, and such.

While there are legitimate uses of hotlinking such as YouTube videos, the problem with unauthorized hotlinking is that it is essentially bandwidth theft. Hotlinking increases your server load — especially if the hotlinked image was posted on a popular website — and decreases the loading speed of your own site.

Additionally, if you use original images for your blog (e.g., you are a photographer or an illustrator), hotlinking can be especially annoying because in almost all cases, the person who hotlinks does so without obtaining permission first.

Luckily, there are different ways that bloggers can prevent hotlinking of their images.


Option 1: Edit your .htaccess file

The first, and probably the most difficult method, is to edit your .htaccess file. To find out if you already have an .htaccess file, navigate to your blog’s root directory using an FTP client and simply look for it. (Note: you may need to select an option that allows you to view hidden files first.) If you don’t have one, you can easily create one by using a text editor to create a blank document, naming it .htaccess, and uploading it to your blog’s root directory.

Important: Before making any changes to an existing .htaccess file, be sure to save a copy of it first!

The next step is to copy and paste the following to your .htaccess file (if there’s already stuff on your .htaccess file, add it to the bottom of the file):

RewriteEngine on
RewriteCond %{HTTP_REFERER} !^$
RewriteCond %{HTTP_REFERER} !^http(s)?://(www\.)?yourdomain.com/.*$ [NC]
RewriteCond %{HTTP_REFERER} !^http(s)?://(www\.)?anotherdomain.com/.*$ [NC]
RewriteRule \.(jpg|jpeg|png|gif)$ http://www.yourdomain.com/hotlink.gif [NC,R,L]

Now this is where you substitute what is on the code above with your own information:

Lines 3 and 4 are specifying which domains should be exempt from your hotlinking rule. So you want to replace the words in blue with your own domain (don’t include the www because that’s already included in the code).

Then, you want to replace the words in orange with any other domains that should be able to hotlink to your images. This should include feed aggregators like FeedBurner. If you have more than one domain on this list, simply copy & paste the same line, replacing the orange URL with your desired domains.

The words in pink are stating which file extensions should be included in your hotlinking rule. Most people will not need to edit this part, but feel free to delete and add to it as you wish.

Lastly, the words in green is a URL to an image that should be displayed when someone tries to (unsuccessfully) hotlink to your site. For example, the graphic that I use for my hotlinked images is:

Alternatively, if you just want an error 403 Forbidden instead of an image, you can replace the last line with the following code:

RewriteRule \.(jpg|jpeg|png|gif)$ – [F]

So, using all the rules above, this is what I have included in my .htaccess file:

RewriteEngine on
RewriteCond %{HTTP_REFERER} !^$
RewriteCond %{HTTP_REFERER} !^http(s)?://(www\.)?geekinheels.com/.*$ [NC]
RewriteCond %{HTTP_REFERER} !^http(s)?://(www\.)?google.com/.*$ [NC]
RewriteCond %{HTTP_REFERER} !^http(s)?://(www\.)?feedburner.com/.*$ [NC]
RewriteCond %{HTTP_REFERER} !^http(s)?://(www\.)?feeds2.feedburner.com/.*$ [NC]
RewriteCond %{HTTP_REFERER} !^http(s)?://(www\.)?yahoo.com/.*$ [NC]
RewriteCond %{HTTP_REFERER} !^http(s)?://(www\.)?msn.com/.*$ [NC]
RewriteCond %{HTTP_REFERER} !^http(s)?://(www\.)?bing.com/.*$ [NC]
RewriteCond %{HTTP_REFERER} !^http(s)?://(www\.)?facebook.com/.*$ [NC]
RewriteCond %{HTTP_REFERER} !^http(s)?://(www\.)?pinterest.com/.*$ [NC]
RewriteCond %{HTTP_REFERER} !^http(s)?://(www\.)?bloglines.com/.*$ [NC]
RewriteCond %{HTTP_REFERER} !^http(s)?://(www\.)?feedly.com/.*$ [NC]
RewriteCond %{HTTP_REFERER} !^http(s)?://(www\.)?netvibes.com/.*$ [NC]
RewriteRule \.(jpg|jpeg|png|gif)$ http://www.geekinheels.com/images/hotlinking.gif [NC,R,L]

Notice that I have included all other sites I would like to allow hotlinking back to my blog, such as Facebook and Pinterest. Can you think of any other sites I should add to this list?


Option 2: Use cPanel’s Built-In Hotlink Protection

This next option is much simpler than using .htaccess, but it has two drawbacks:

  1. You have to host your blog with a company that gives you access to cPanel
  2. You have a bit less control

If you do have access to your cPanel (the URL to your cPanel is almost always yourwebsite.com/cpanel), navigate on over to the “Security” section and click on the “HotLink Protection” icon.

From there, you need to enable hotlink protection by clicking on the “Enable” button at the top of the page, fill in the fields as directed, and hit the “Submit” button at the bottom. You can see that if you carefully compare this method and the .htaccess method above, there are definite similarities.

And, because the full list of URLs I’ve used is not viewable in the above screenshot:

http(s)?://(www\.)?bing.com
http(s)?://(www\.)?bloglines.com
http(s)?://(www\.)?facebook.com
http(s)?://(www\.)?feedburner.com
http(s)?://(www\.)?feedly.com
http(s)?://(www\.)?feeds2.feedburner.com
http(s)?://(www\.)?geekinheels.com
http(s)?://(www\.)?google.com
http(s)?://(www\.)?msn.com
http(s)?://(www\.)?netvibes.com
http(s)?://(www\.)?pinterest.com
http(s)?://(www\.)?yahoo.com


Option 3: Use a hotlink protection plugin

Once again, this is where WordPress comes in handy. Just doing a quick search for “hotlink” in the WordPress Plugins Directory returns several plugins that can help you achieve what I have outlined in options 1 and 2. The three most popular ones seem to be:

Please keep in mind that I have not tested these plugins myself, so please use them at your own risk.


Additional Information

The final step in setting up hotlink protection is to test it. You can do that by visiting one of many sites that allow this, such as http://www.htaccesstools.com/test-hotlink-protection/

If you do not run a self-hosted blog, there’s a good chance that you do not need to worry about bandwidth theft since most platforms like WordPress.com and Blogger do not place bandwidth limitations.

However, if you would still like to keep the media on your blog accessible via your blog only, you can host the files in a separate file hosting service and change its privacy settings accordingly. For example, Blogger users can set their blog media folder in Picasa to private. Another great way to help discourage hotlinking — as well as intellectual property theft — is to watermark your images.

 I hope that was helpful and informative. Please let me know if you have any questions!

Feb
6
2012

How Donuts Help Us Understand Social Media

Ed. note: It has come to my attention that the content for the image below already exists. I had seen the Google+ one from a Google+ post, was immediately reminded of the “How Pee Helps Us Understand Social Media” graphic, and made this, further inspired by the comments on the Google+ thread. (I have not seen the Instagram version since I am an Android user and do not have an Instagram account.) As a result, I have decided to remove my URL from the bottom of this image, but will keep this up with the Istagram picture linked: http://instagr.am/p/nm695/ I hope that this is a satisfactory compromise for those who believe this is straight plagirism.

Last year, I had shared a small graphic which explained how pee helps us undertand social media.

Today, I’ve decided to create my own with a more current list of popular social media…this time, with donuts! (Because who doesn’t love donuts?) Enjoy! 


Feb
6
2012

New Directions, and A Call for Help

A few years ago, J casually said to me, “You know, you should really make your blog more mobile device friendly.”

“But that might ruin the design! And you know how hard I worked on it. Besides, less than 1% of my visitors are using a mobile device when they browse on over.”

Did I mention that J is a software engineer and tester? That he not only once worked for the big G, he is always up-to-date (and most of the times, ahead of the curve) on the latest web trends and companies — e.g., signed up for Yelp and Twitter long before anyone else I knew even heard of them, correctly predicting that they would “blow up” — and is the go-to guy in our social circle for any web/tech-related questions?

So of course, being his wife, I completely ignored his advice. ;-)

Flash forward to now. “Responsive” is currently the hottest word in web design. Web Design Ledger predicts:

Eventually, we’ll all stop talking about responsive web design – not because it will go away, but because it will become what’s expected.

And wouldn’t you know it? Currently, about 20% of my blog’s visitors hail from a mobile device.

So what does J do when I tell him that I’m thinking about a more responsive design for my blog?

“Responsive web design? Isn’t that an old concept?”  

I hate it when he’s right.


How responsive web design should work — see how the content shifts
depending on what type of device you are using to view the website?
(image source)

So, in order to keep this blog current and more user-friendly to those who visit using tablets or mobile phones —

And because I’m already hankering for a change after just seven months with this current design

I have decided that a site redesign is in order.

I want to get this done as quickly as possible (i.e., within the next month) before J’s parents go back to Hong Kong and I will have no help with the two kids.

And here is where YOU, the readers, can help!

There are currently two logistics to this redesign I have not yet quite figured out.

The first: I am seriously thinking of displaying partial posts for the front page of the blog. The reason for this is because my posts tend to be long, and/or feature large or multiple images which significantly slow down the loading speed of the site. Having partial posts on the front page will not only ensure faster loading time, but will also allow users to more easily scroll down and see additional content.

However, I personally hate it when the sites I visit do this because I would much rather see everything on one page.

What do you think? Do you prefer partial posts on the
front page, or full posts as I have now? Please vote below!

(Please keep in mind that my RSS feeds will not be affected by this change. Subscribers will still be able to see full posts when reading from Google Reader or other RSS feed aggregators.)

Which do you prefer to see on the front page of GeekInHeels.com?

View Results

Loading ... Loading ...

The second issue involves the logo. Although I have extensive experience with helping others with their logos and branding, designing a logo is not my strong suit. And I strongly believe that a good logo is important to any brand.

I also believe that a good logo can help me with the redesign of this site by providing a certain “look and feel” and pointing me in the right direction.

So I have decided to make the investment by hiring someone to design a new logo for Geek in Heels.

I have already posted an ad on oDesk, but I was wondering..

Are you, or someone you know, interested in
designing a logo for Geek in Heels? 

Since I am short on cash, I can only pay the designer $100 USD. However, I can also offer on top of that a full year’s 160×100 or 160×200 (your choice) sidebar banner ad for FREE. You can look at my site stats on my sponsorships page.

My only requirements are that the applicants should have examples of logos they have designed in the past, and that the final logo should be provided to me in EPS format.

If you are interested, please leave a comment to this post, or shoot me a message via my contact form.

As always, thanks for reading, and I can’t wait to unveil to my readers my new logo and site redesign!

Jan
31
2012

Cool Tool Tuesdays: MCP Free Facebook Fix Photoshop Actions

Welcome to today’s installment of Cool Tool Tuesdays, where I feature a favorite item from my life and spotlight it so that others who are not familiar with the product may also benefit from it. A cool tool can be any book, gadget, software, hardware, material, or website that I have personally tried and love.

Do you have any questions about today’s cool tool? Would you like an item featured in the future? Please leave a comment to this post, or send me a message via my contact form. Enjoy!


If you are a regular Photoshop user, you are probably familiar with Photoshop Actions.

If you have no idea what Photoshop Actions are, go read “What Are Photoshop Actions?” over at the MCP Photography Blog. You can also check out this FAQ at Totally Rad for more information, instructions, and tips on installing and using actions.

Now that we’re set on that, let’s move on to today’s Cool Tool: MCP Actions’ Free Facebook Fix Photoshop Actions!

This FREE set of actions for Photoshop and Photoshop Elements includes 11 actions to resize, sharpen, watermark, and brand your photos. Why does it include Facebook in its name? Because this set is created with Facebook in mind by not only resizing the photos to Facebook’s 960px-wide gallery interface, but it also converts your photo’s color profile to sRGB IEC61966-2.1, which optimizes your picture’s colors for the web.

The Free Facebook Fix Photoshop Actions also include one of the best sharpening actions I’ve come across. Take a look at the following picture of Aerin, before I ran the Free Facebook Fix Photoshop Action and after:

The difference is subtle, but noticeable. (Click on the image to see the full version.) The effect is remarkably evident in the eyes — the sharpening action creates a bright and alert look to practically every pair of eyes I’ve run it through.

MCP also offers the sharpening action by itself, called Free High Definition Sharpening Photoshop Actions. I use these as the final step in almost all my pictures, and I know that many professional photographers do too!

Be sure to check out the rest of MCP’s amazing actions. While most of the sets are $30 and up (the whole shebang is $1085 8-O ), many amazing sets can be downloaded for free here.

And, as referenced above, Totally Rad is another company that offers amazing Photoshop Actions. I’m so glad I purchased TRA1 and TRA2 when I was still working full-time and had the money to spend, because I use their actions on almost all of my pictures too.

Don’t have Photoshop? Both MCP and Totally Rad offer Lightroom Preset versions of their Photoshop Actions, and many of my photographer friends prefer Lightroom to Photoshop. And while Photoshop Elements is not quite as powerful as Photoshop itself, it has most of the tools that non-professionals require — not to mention that it is a steal (at least compared to regular Photoshop) at $79.

You can also find hundreds of FREE and amazing Photoshop Actions just by searching for them. If you are not sure where to start, here’s an article called “The Ultimate Collection of Useful Photoshop Actions” which showcases more than 350 actions that are handpicked by Smashing Magazine.

Enjoy, and action away!

  • Sponsors

  • Chirp, Chirp

  • Become a Fan!